How to make a volcano at home
Model the unique nature phenomenon with kids!
How can you tell children what a volcano is, in an accessible and interesting way? Of course, you can take books with pictures of volcanoes and try to explain eruptions and magma. Or you could make a volcano yourself at home. You won’t just satisfy the curiosity of young researchers, you will also inspire them to take an interest in different sciences: geography, chemistry and geology.

It’s very easy to make a volcano at home. Basic items that can be found at home and simple washing-up liquids make it possible to create stunning effects.
We recommend that you conduct these experiments with children aged six or seven, who will have a better understanding of what is going on. Although this fascinating spectacle will also interest both toddlers and adults.
Goal of experiment is to give children elementary ideas about a natural phenomenon — the volcano, and show the interaction of alkali with acid (neutralization reaction).
Tasks:
- form ideas about volcanos, the dangers they present;
- nurture an interest in educational and research work;
- develop activity, initiative and independence in educational work;
- tell children about the existence of the acid-alkaline medium.
Materials and tools:
- flask or bottle;
- cardboard for making the “mountain”;
- plasticine to give the volcano form;
- water;
- soda;
- citric acid;
- food coloring (orange or red gouache);
- dish-washing liquid;
- container for mixing ingredients and spoon;
- stapler;
- plastic container;
- toy figures (various animals, trees, rocks).
Experiment procedure
1. Make the volcano.
To make the volcano itself, you need to find a suitable container. You can use a flask, or small juice or yogurt bottles.
To make the bottle look like a mountain, we make a structure out of cardboard. Cut out a circle, and make one cut along its radius. Make the circle into a cone and staple it together. Cut off the top of cone.
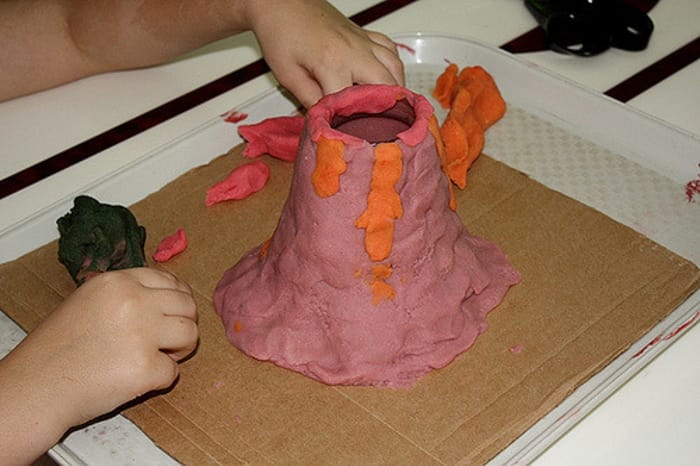
We put our container inside the cone. Now we have the frame of the volcano. With the plasticine, we can give the volcano its shape. We cover the cardboard with plasticine, and make the volcano crater, hiding the neck of the container.

We place the volcano model in the plastic container. You can also use a basin instead of a container. We make a landscape with various types of animals (dinosaurs, beasts), trees and rocks. We sprinkle rocks at the foot of the volcano, and arrange the trees and animals.
2. Prepare 2 solutions for the “lava”. We pour water into the container (volcano) until it is two thirds fill, and add food coloring (gouache), several drops of dish-washing liquid (so there’s a lot of foam) and five tablespoons of soda. We separately prepare the solution: we dilute citric acid (I recommend 5 tablespoons per 1.5 cup of water).
3. Provoke the eruption.
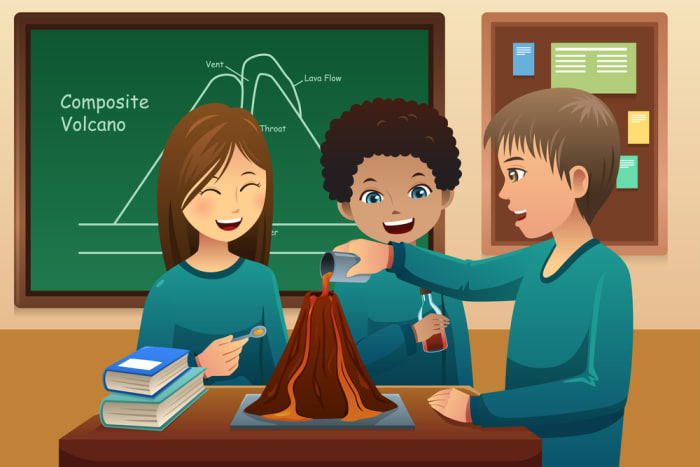
Slowly pour the glass of citric acid into the mouth of the volcano. I recommend that you stir the mixture thoroughly inside the volcano container beforehand. We watch the magic taking place, as the dormant volcano wakes up and turns into a fire-breathing mountain.
Result of experiment
Foam of a fiery red color begins erupting out of the mouth of the volcano.

Scientific explanation
People will ask: “Why does the volcano erupt?” We get the effect of lava erupting from the volcano in the interaction of two substances - soda and citric acid. This process is called a neutralization reaction in chemistry. It means that the acid reacts with alkali (soda) and they neutralize each other, releasing carbon dioxide, which causes the mixture inside the volcano to foam, and makes the mass pour over the edge of the crater. The dish-washing liquid makes the “lava” bubble more violently. We recommend you to do another experiment with volcano, but with the glowing lava this time.